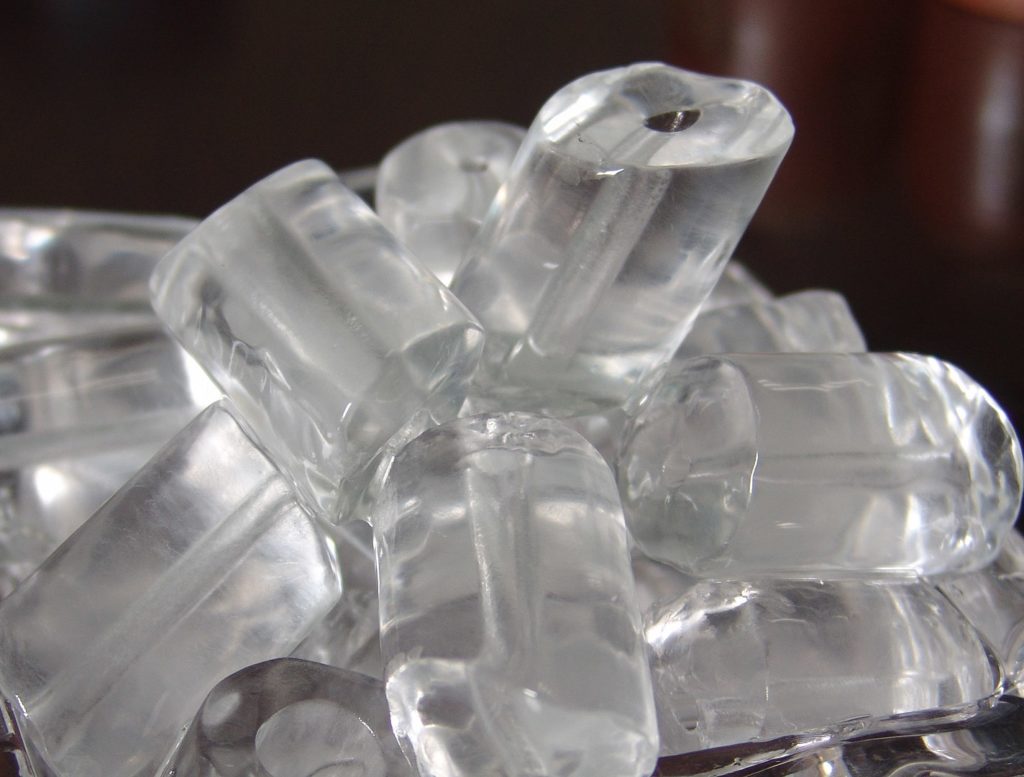
Ice machines are key for a variety of establishments, including bars, restaurants, hotels, nursing homes, hospitals, and healthcare facilities. Despite this, many owners fail to clean them regularly even though they are such an important piece of equipment. This post will take you through a detailed, step-by-step explanation of how to clean an ice machine, making sure your equipment is safe for your clients or patients.
How to Clean the Exterior of an Ice Maker
Clean the area around the ice maker as often as needed. This will maintain cleanliness and efficient operation. Rinse a damp cloth in water and wipe surfaces down to remove dust and dirt from the outside of the ice machine. Do not use abrasive brushes or pads. If there is any grease left, use a damp cloth rinsed in a mild dish soap and water solution. Your ice maker’s manual may contain some restrictions. Do not use abrasive, chlorinated, or citrus-based cleaners on plastic trim and exterior panels.
How to Clean an Ice Maker
The requirements for ice maker maintenance will differ from vendor to vendor, but the overall process is similar for most ice machines. Before you do anything, check your machine’s manual for the appropriate procedure. Here are the customary steps to clean most commercial ice makers.
First, get rid of all the ice from the dispenser or bin. All ice must be removed during the process of cleaning and sanitation. To remove the ice, follow one of the methods below:
- Press the power switch and allow the ice to completely melt
- Press the power switch at the end of the a harvest cycle after ice falls from the evaporators
Press the “wash” or “clean” button. When the water trough refills, the display will prompt you to add chemicals. This normally takes up to a few minutes. As per your manual, add the recommended amount of ice machine cleaner and wait for the clean cycle to finish. Normally, this takes around 30 minutes. After the cycle is finished, disconnect power to the ice machine and the dispenser, if applicable.
All internal ice machine components must be removed for cleaning. Refer to the manual for safe and proper removal. Move to the next step once you have removed all parts.
Mix a solution of warm water and cleaner. Check the ice maker’s manual for the right amount of solution. The rule of thumb is 1 gallon of water to 16 ounces of cleaner. You might need to use more or less cleaner depending on the amount of mineral buildup.
Use half of the cleaner and water mixture to clean all components and the removed parts. Most solutions will begin foaming once they come in contact with scale, lime, and mineral deposits. Wait for the foaming to stop. After it does, clean all parts carefully using a soft-bristle nylon brush, sponge, or cloth. Then, rinse with clean water.
Use the remaining part of the mixture to clean all the food surfaces of the ice maker and bin or dispenser. Use a cloth or nylon brush to clean the following ice machine areas well: the bin or dispenser, side walls, base (area above the trough), and plastic evaporator parts (top, bottom, sides).
Rinse all areas with clean water. This will help get rid of chemicals that might otherwise cause the ice to become contaminated.
Clean an Ice Machine Filter and Condenser
Like the remaining components of your ice machine, the condenser should be cleaned twice a year. To clean the condenser of your ice maker, follow these steps:
- Disconnect power to the condensing unit and ice machine head section
- Check for dirt between the fins of the condenser using a flashlight
- To remove dirt from the condenser, rinse it with water from the inside out or blow compressed air through it
- If dirt still remains, contact your manufacturer or a service agent, but it shouldn’t.
- Rinse your machine’s filter with mild soap and water to clean it.
Sanitizing an Ice Maker
Finally, here are the steps you need to follow for sanitizing an ice maker after you have removed any buildup or mold from the machine and its parts.
Take a bottle and fill it with a mixture of warm water and ice machine sanitizer. Check your machine’s manual for the right amount of solution. Generally, the water to cleaner ratio is 6 gallons of water to 4 ounces of sanitizer.
Use half of the cleaner and water solution to sanitize all components and elements you’ve removed. Apply the solution to all surfaces of the removed parts using a spray bottle or soak the removed parts in the solution. Do not rinse parts with water after sanitizing.
Use the remaining solution to clean all food surfaces of the ice machine, dispenser, and bin. Make sure to sanitize the bin or dispenser, the side walls, the base (area above the trough), and the evaporator plastic parts at the top, bottom, and sides. Replace all removed components and wait half an hour for the sanitizer to disinfect properly.
Now, plug the ice machine back into the power socket and press your unit’s “clean” or “wash” button. Wait for the water trough to refill. The display should indicate to add chemical. Add the appropriate amount of chemical to the water trough.
Set your machine to start making ice automatically after the sanitizing cycle is complete. This will usually take around half an hour. When finished, we recommend observing two cycles and monitoring the harvest and freeze cycle times. You should throw the first batch of ice made after you have cleaned and sanitized the machine out.
It’s important to perform these steps on a regular basis to make sure you are getting healthy and clean ice, avoid contamination, and ensure the longest possible life cycle of your ice machine or ice maker. If you have a small one you use occasionally, you can do so less often, but it’s of paramount importance if you’re running an establishment like a bar, diner, or (and especially) medical facility!