Your car’s catalytic converter is an important part of the exhaust system that reduces harmful emissions. If this component fails, it needs to be replaced as soon as possible because your car will fail its smog certification. The good news for most drivers is that this task can be performed at home to avoid the markup of a mechanic. Once you’ve purchased one of the best catalytic converters on the market for your vehicle, here’s a basic installation guide.
- Safety First
Take every safety precaution when installing a new catalytic converter or any other custom builder exhaust parts. Read your vehicle’s manual as well as the manufacturer’s installation instructions before you start. Find a level place to park and raise the car on four jack stands. To avoid burns, give the exhaust system time to cool down before proceeding.
- Remove the Old Converter
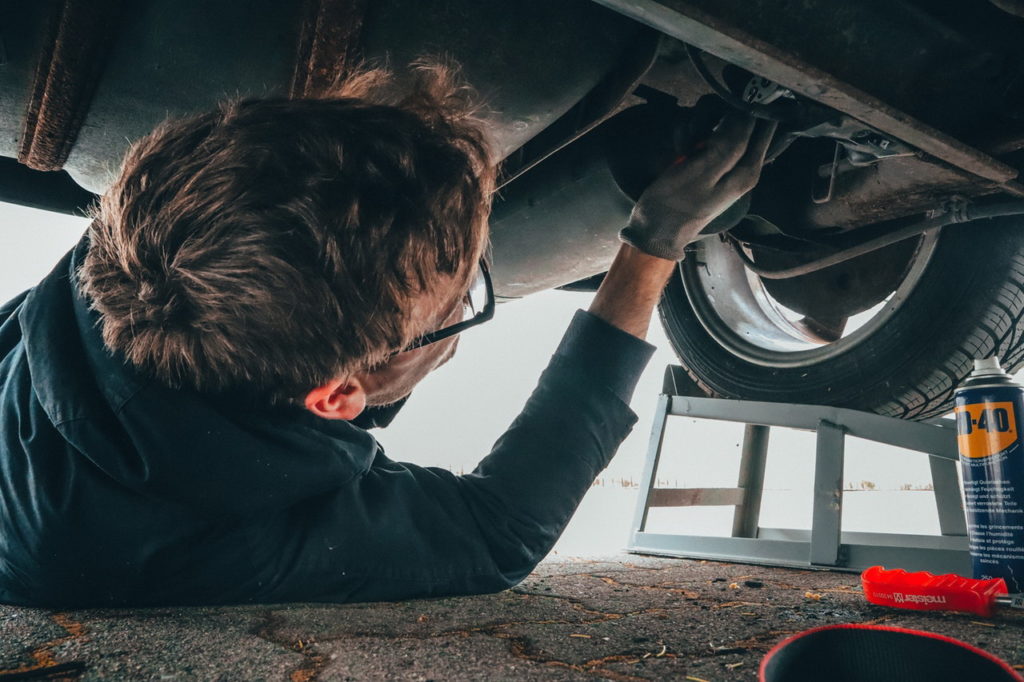
Start by removing the old catalytic converter. Use a specialized socket to remove the oxygen sensor and loosen the converter’s bolts working from the rear end towards the front. Use penetrating oil to break through any accumulated rust and remove the converter once you’ve taken out each bolt.
- Install the Replacement
To perform the installation, work in the reverse order of the removal. If the kit came with any gaskets, install them according to the instructions. Use the arrow on the converter to make sure it’s facing the right way. Once you’ve tightened each bolt by hand, use a ratchet to make them as tight as possible to prevent potential gaps. Replace the oxygen sensor, use a candle flame to check for leaks and you’re done.
Do It Yourself
This is a basic guide on how to replace a catalytic converter, but you’ll probably need to go to a mechanic if your component was welded instead of bolted. To get the most out of your exhaust system, make sure you only purchase the best replacement parts for your vehicle.