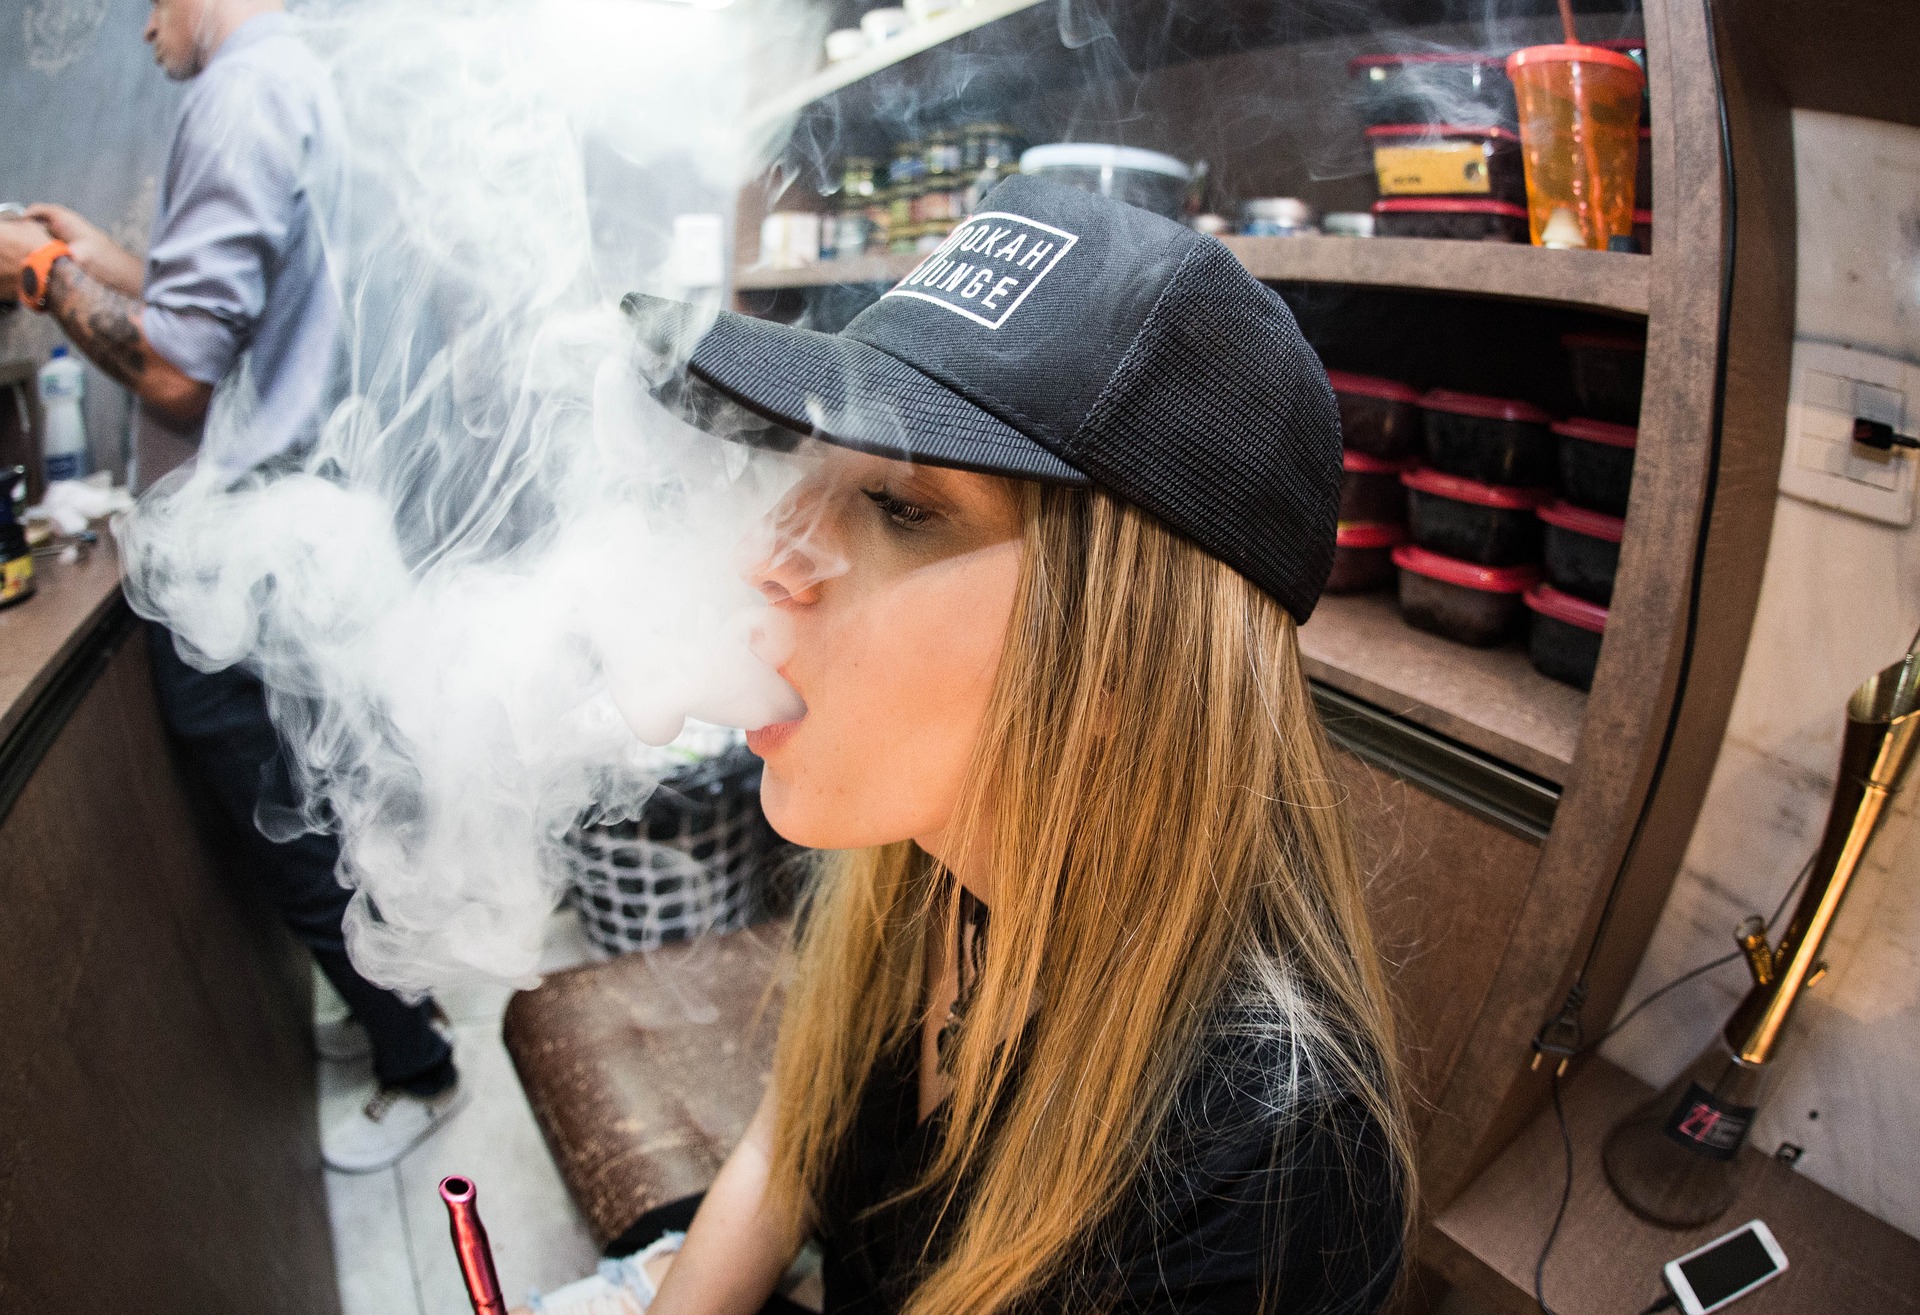
Over the last few years, there’s been a major increase in the number of people who are vaping. These instances of vaping have increased among teenagers and adults alike.
If you’ve recently taken up vaping, there’s a lot you may not know. For example, you may be unsure of how to clean your vape.
If this is the case for you, you’ve come to the right place.
Listed below are some essential products and tips you can use to ensure your vape gets clean and lasts for as long as possible.
Reasons to Clean Your Vape
Many people, especially new vapers, don’t realize that it’s important to clean their vapes on a regular basis. There are lots of reasons for this, including the following:
- Regular cleaning ensures your vape stays in good working order
- Regular cleaning prolongs the lifespan of your vape
- Regular cleaning allows for a better vaping experience (no strange, burnt taste)
- Regular cleaning helps you avoid germ-buildup and exposure, which could cause you to get sick
From keeping your healthy to helping you enjoy your vape experience more, there’s at least one reason for keeping a clean vape that everyone can get behind.
How Often Should You Clean Your Vape?
Okay, you can see that regular cleanings matter. How often should you clean your vape, though?
As a general rule of thumb, it’s best to clean your vape about once per week. If you vape very often, you may want to clean it more frequently than this. Once per week is a good place to start, though.
Essential Vape Cleaning Supplies
In order to get your vape clean, you need to have the right supplies on hand. The following are all essential tools that will help you keep your vape sparkling:
- Cotton swabs
- High-proof, non-flavored vodka
- Distilled water
- Paper towels
You’ll also need some bowls that you can pour your vodka and/or distilled water in as you begin the cleaning process.
How to Clean Your Vape
Now, it’s time to get into the specific strategies needed to clean your vape. Follow these basic instructions to keep your vape clean and avoid accidental damage to it:
Simple Vape Tank Rinse
If you keep up with your vape cleanings, you can likely get away with a simple rinse every week. For this cleaning method, all you’ll need is distilled water, cotton swabs, and paper towels.
Fill a bowl with warm distilled water. Then, detach your vape tank from the mod and dump out any e-liquid that remains in the tank. Take apart the tank completely, then place the components in the bowl.
Use cotton swabs to scrub each component until it’s clean (you may want to add a few drops of dish soap to help with this). Once they’re clean, dry each component with a paper towel. Let them stand for 10-15 minutes to finish drying before putting your vape back together.
Vape Tank Deep Clean
In some cases, you need to do a deeper clean to get your vape sparkling and working like it did when it was new.
If a simple rinse didn’t work, try dampening a paper towel with high-proof, non-flavored vodka. The vodka acts as a solvent to break down deposits from e-liquid. Scrub the components thoroughly (you may want to use cotton swabs as well for tight areas) until they’re totally clean.
When you’re satisfied, rinse the components with warm water. Dry them with paper towels, then let them air dry for 10-15 minutes before reassembling your vape.
Replace Your Coils
You need to make sure you replace each vape coil on a regular basis, too. Vape coils only last about one week, so get in the habit of changing them whenever you clean your vape.
You’ll know that your vape coils need to be changed because they’ll have a dark, crusted appearance to them. You may also experience a decrease in vapor production, or you may notice a “burnt” taste when using your vape.
Replacing coils is easy to do.
Start by removing the tank and discarding remaining e-liquid. Then, twist the coil to the left to loosen it. Remove it, and screw in the new coil. Then, reattach your tank to the rest of our device.
Basic Vape Maintenance
Keeping your vape clean is the most basic form of maintenance you can do for your vape. There are some other steps you can take to keep it in good working order, though, including the following:
Proper E-Liquid Levels
Avoid under- or over-filling your vape tank. If you maintain proper e-liquid levels in your vape, you’ll be less likely to wear out your vape. This will help it run in the most efficient way possible.
Proper E-Liquid Storage
Store your e-liquid at room temperature. Extreme temperatures can change the consistency of the liquid. This, in turn, can have a negative effect on your vape’s performance and the effects you experience.
Proper Vape Storage
Store your vape in the proper way, too.
It’s best to invest in a sturdy, padded case for it. That way, you won’t have to worry about it rattling around in your car or backpack and getting damaged.
This will also help you avoid e-liquid leaks.
Clean Your Vape Today
Now that you know more about why you should clean your vape, as well as how to clean your vape in the correct way, it’s time to get to work. Keep this information in mind as you begin shopping for supplies and maintaining your vape.
It may feel like a hassle at first. Remember, though, that the better you are about cleaning your vape on a regular basis, the better it’ll function and the better your vaping experience will be.
Do you want to learn more about vaping?
We have lots of vaping-related content on our site that is worth reading, whether you’re a new vaper or a seasoned pro. Check it out today.


